Activating the LVDS in a Linux system can be quite challenging. I am a newbie to Linux – don’t blame me for these kind of trivial explanations. All explanations should apply to the Wandboard Solo and Wandboard Dual in the same way.
My notes are describing the process for the Ubuntu 12.04. Please note it is not suitable for the Ubuntu 14.04 or higher! To be more precise it is only valid for kernel versions <=3.0.x. In kernel versions >=3.1 the device tree has been introduced to Linux. If you want to use a distribution using kernel >3.0.x you’ll need to activate LVDS in the device tree, too. (I don’t know how to do this yet). The Ubuntu 14.04 image uses kernel version 3.10 while Ubuntu 12.04 image uses kernel version 3.0.101. You can get your kernel version by typing
uname -r
in the console. Again – the description below is not complete when using kernel version >3.0.x!
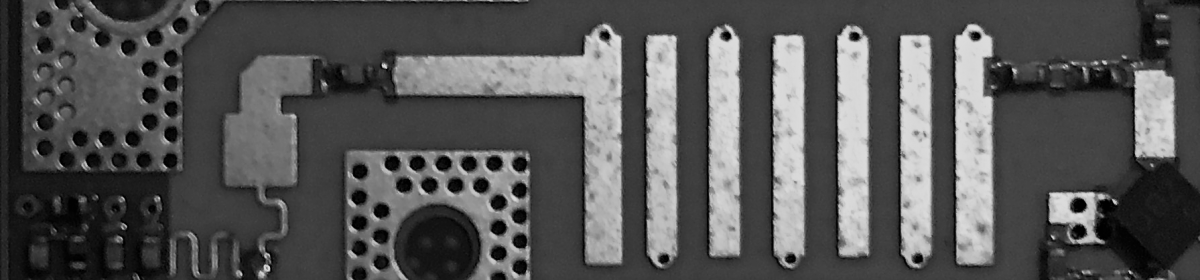
I am using the Wandboard Quad (iMX6q) Rev. B1 on a custom baseboard with a LVDS connector. Anyway – the LVDS pins are routed to the GPIO expansion headers of the Wandboard Baseboard. You need to connect all the ground lines and the four differential pairs (R, G, B, Clock) each consisting of a positive and negative line. Download the schematic of the Wandboard from here and get the correct pins from there.

The LCD I use is a DLC1010AZG-T-1. The datasheet is a bit awful, but does its job.
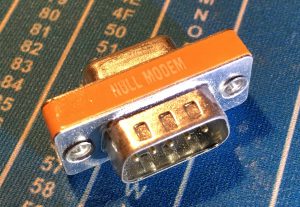
You need to access to a RS232 interface on your debug computer. You can use a RS232-USB adapter if your computer does not have a native RS232 interface. Furthermore you need a null modem cable or adapter. These cables map the TX pin of the Wandboard (Pin 2, DSUB9) to the RX pin of the host computer (Pin 3). Same goes for the WB RX pin, it is mapped to TX pin of the host. A “normal” RS232 cable will not do the job, you need to go for a null modem cable or a appropriate adapter.
First you should use find a Linux image which is running on your Wandboard. Open your preferred terminal program (HTerm, Terra Term, …) and power up your Wandboard. The settings you need for your terminal are:
115200 baud, 8 data bits, no parity, 1 stop bit, no flow control (!), endline character <CR>
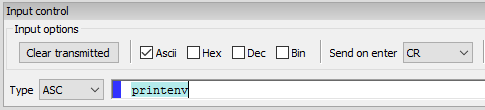
Do not use flow control! This is how the settings look like in HTerm:
![]()
Power up your board and you should see a bunch of traffic there. If not – check your cables and make sure you have a booting Wandboard using a HDMI monitor.
At the beginning of the boot sequence you will see something like this in your terminal program:
U-Boot SPL 2013.10-00007-g6368217 (Mar 12 2015 – 15:38:05)…
…
Hit any key to stop autoboot: 3 , 2, …
During this period of time press any key on the keyboard of your host computer and make it send this including the <CR> end character. Most terminal programs automatically append a end character.
However if you succeeded you will have entered the U-Boot environment, indicated by
=>
Now we can work in U-Boot. We need to overwrite the boot arguments in the environment variables of U-Boot which will activate the LVDS output in the required mode for the LCD. This is done via
setenv bootargs ‘console=ttymxc0,115200 root=/dev/mmcblk0p1 rootwait rw video=mxcfb0:dev=ldb,LDB-WSVGA,if=RGB24’
“mxcfb0” is the framebuffer and the output device is the “LVDS Display Bridge” (LDB).
“LDB-WSVGA” is the resolution which is set to 1024×600 (WSVGA standard) which fits the needs of my display. You could specify the resolution manually, by replacing “LDB-WSVGA” with e.g. “1024x768M@60”.
“if=RGB24” sets the mode LVDS mode of the display. My LCD needs 8 bit each color, so “RGB24” is suitable (3×8 = 24). Potentailly RGB888 could also work, I do not know the exact differences between RGB888 and RGB24. If you know more, let me know.
Now we need to save the environment variable permanently type in
saveenv
and perform a reboot
reboot
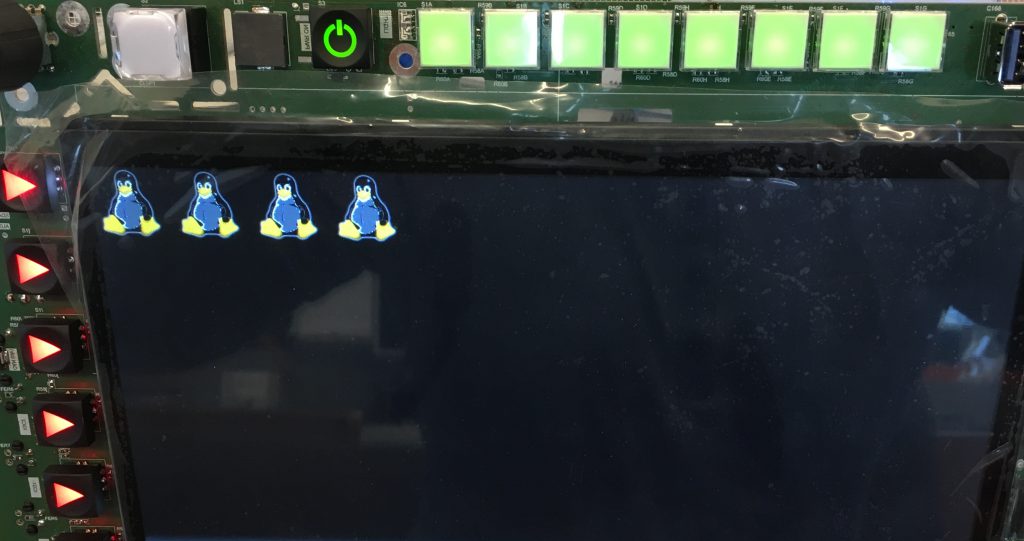
If you’re lucky you should see Linux penguins appearing on your display. (Give the boot process a few seconds).
If you should see some distorted images, you probably need to adjust your color mode (RGB18, RGB666, RGB565, RGB24, RGB888) or even worse your display timing. Since this is not suitable without recompiling your kernel, I won’t cover this within this post. If you just want to adjust your color mode simply set the U-Boot environment variables again as described above and save them.
I encountered a problem with colors which turned out to be a contact problem on the LVDS connector.